BENDIX BW7273 Manual do Utilizador
Consulte online ou descarregue Manual do Utilizador para não BENDIX BW7273. BENDIX BW7273 User's Manual Manual do Utilizador
- Página / 32
- Índice
- RESOLUÇÃO DE PROBLEMAS
- MARCADORES
- ESD - 225 3
- General Information 4
- Specifi cations 5
- Tightening Torque Wear Limits 6
- Self-Adjusting Adjustment 7
- Application 8
- Description of Operation 10
- Safety Instructions 11
- Service Instructions 12
- Service Intervals 12
- Checking Pads 13
- Checking Brake Disc 13
- Operating Test 16
- Removing Pads Replacing Pads 18
- Initial Adjustment 19
- Removing Disc Brake Caliper 20
- Replacing Disc Brake Caliper 20
- Boots (Frame) 21
- Replacing Slide Pins, Slide 22
- Bushings, & Boots 22
- Replacing Boots in Caliper 24
- Removing Brake Chamber 26
- Replacing Brake Chamber 26
- Removing Spring Brake Chamber 27
- Rotor Runout Check 29
- Removing Rotor 29
- Replacing Rotor 29
- Cleaning and Inspection 30
- Rotor Resurfacing 30
- Troubleshooting 31
- The Roadranger 32
- System features 32
Resumo do Conteúdo
BBeennddiixx®®EESSDD--222255™™AAiirr DDiisscc BBrraakkeePremium wheel-end brake productsSS ee rr vv ii cc ee MM aa nn uu aa ll
9ECeC3/32/31/36ECeC3/32/31/31Brake torqueAdjustmentphase (Ce)Free stroke ElasticityDescription of OperationE - The next part of the return stroke corr
10Safety Instructions• Always follow the vehicle manufacturer's safety instructions when working on a vehicle.• Follow the vehicle manufact
11Service InstructionsService InstructionsCheck the following items regularly every 6 months. Refer to the sections as listed below.• Check brake pad
1221231Service InstructionsMeasure the distance from the backplate to the wearing surface of the pad.The minimum permitted lining thickness (friction
131134625Service InstructionsThis check is done after the pads have been removed. See the section on "Replacing Pads".Check the sliding moti
1421231Max. 50 mm[2.2 in.]Service InstructionsCheck the protection caps and rubber boots of the slide pins [two (2) per slide pin]. If there are signs
15Service Instructions1. Lift and support the axle in accordance with the vehicle manufacturer's instructions.WARNING: Follow the Safety Instruc
161. Check that the brake disc can be turned freely.WARNING: Follow the Safety Instructions. The vehicle manufacturer's instructions must also be
17Replacing Pads• Always replace pads on both sides of the axle at the same time.WARNING: Follow the Safety Instructions. The vehicle manufacturer&ap
18Replacing Pads1. Check that the brake disc can be turned freely.2. Using an 8 mm wrench, turn readjustment shaft until both pads touch brake disc.
1Table of ContentsGeneral InformationModel Identifi cation . . . . . . . . . . . . . . . . . . . . . . . 2Exploded View. . . . . . . . . . . . . . . .
19Replacing Disc BrakeWARNING: Be sure to follow all safety instructions including the blocking of wheels and proper lifting and support of axle.WARNI
20231321Replacing Slide Pins, SlideBushings, & Boots1. Put the disc brake assembly in a vise. 3. Remove the four (4) bolts for the slide pins usi
211221Replacing Slide Pins, SlideBushings, & BootsCAUTION: Do not use gripping tools, as the sealing surfaces of the slide pins may be damaged.8.
22121121. Check that the fi tting surfaces for slide bushings and boots are damage free.1. Fit four (4) new slide bushings in caliper.2. Lubricate sli
231. Install boot in caliper. Use Haldex tool #81922 (1-800-643-2374).2. Press the outer part of boot into position in the groove in slide pin and s
24Replacing Slide Pins, SlideBushings, & Boots9. Check the following (refer to section):• Installing disc brakeNote: Always use new bolts.• Insta
251. Remove the air hose. Remove the two (2) nuts holding brake chamber.2. Remove brake chamber.3. Check through the aperture in the brake chamber a
26Replacing Spring Brake ChamberWARNING: Follow the Safety Instructions. The vehicle manufacturer's instructions must also be followed.• Activat
27Replacing Spring Brake Chamber 1. Check that the new spring brake chamber is of the correct type.Note: There must be an inner boot at the push rod
28Replacing Rotor1. Remove the caliper assembly. See "Removing Disc Brake Caliper" on page 19.2. Remove the wheel/hub/rotor assembly from
2Model Identifi cationWheel SizeDisc BrakeExtended ServiceBendix® ESD - 225™General Information
291. Wire brush circumference of rotor to remove dirt and rust, and then clean rotor in a non-toxic, greaseless cleaner.CAUTION: Use of a petroleum-b
30WARNING: Refer to Safety Instructions. The vehicle manufacturer's instructions must also be followed.TroubleshootingSymptoms ActionsNo or low b
BW7273 ©2008 Bendix Spicer Foundation Brake LLC • 01/08 • All Rights Reserved • Printed in U.S.A.901 Cleveland Street • Elyria, Ohio 44035 • 1-866-610
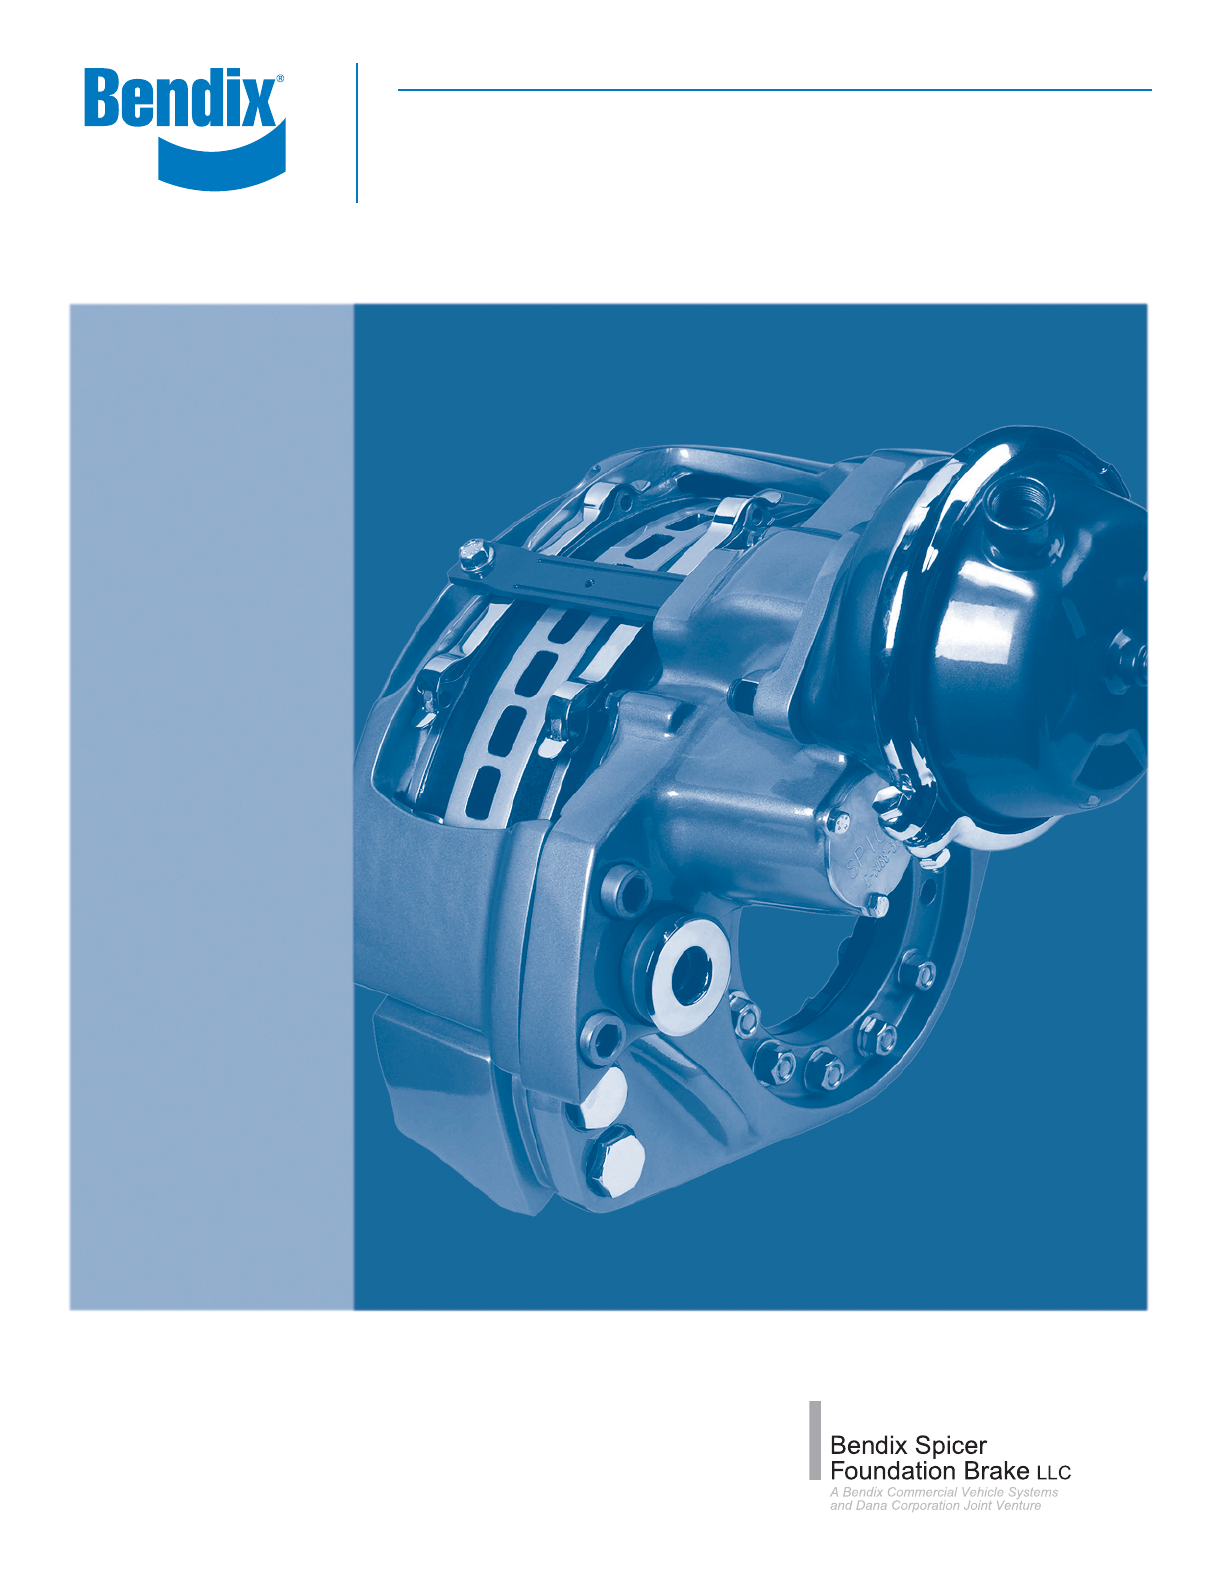
3General InformationProduct Identifi cation – Exploded ViewGeneral Information14131211876521202223194181712910242625Exploded view of conventional hub r
4Specifi cationsSpecifi cationsDisc Brake ESD225 METRIC STANDARDMax. brake chamber force 13.9 kN 3124.8 lbf.Wheel size 571.5 mm 22.5 in.Number of a
5Specifi cationsTightening Torque Wear LimitsTorque fasteners to specifi cations in table. Torque TorqueFastener N•m lbs. ft.Frame Mounting Screw* 447
6Description of OperationDescription of OperationActuation/Release of the BrakeOn braking, the lever is actuated by the brake chamber. The external an
7ApplicationC - During the movement through C, the design clearance is measured between the pad and brake disc by the adjuster. There is a predetermin
8E - When the two (2) pads come into contact with the brake disc, the braking sequence enters elasticity phase E, the torque rises and the adjuster st
Manuais e produtos relacionados com não BENDIX BW7273
 (1 páginas)
 (1 páginas)
(4 páginas)
(1 páginas)
(4 páginas)
 (4 páginas)
(12 páginas)
(2 páginas)
(1 páginas)
(42 páginas)
(2 páginas)
(1 páginas)
(2 páginas)
(6 páginas)
(6 páginas)
(1 páginas)
(1 páginas)
(2 páginas)
(1 páginas)
(2 páginas)
(1 páginas)
(36 páginas)
(4 páginas)
(12 páginas)
(2 páginas)
(1 páginas)
(42 páginas)
(2 páginas)
(1 páginas)
(2 páginas)
(6 páginas)
(6 páginas)
(1 páginas)
(1 páginas)
(2 páginas)
(1 páginas)
(2 páginas)
(1 páginas)
(36 páginas)
© 2020, manymanuals-pt.com. Todos os direitos reservados. | 0.018 s |
 Manymanuals.com
 Manymanuals.de
 Manymanuals.fr
 Manymanuals.it
 Manymanuals.pl
 Manymanuals.cz
 Manymanuals.es
 Manymanuals-pt.com
Comentários a estes Manuais